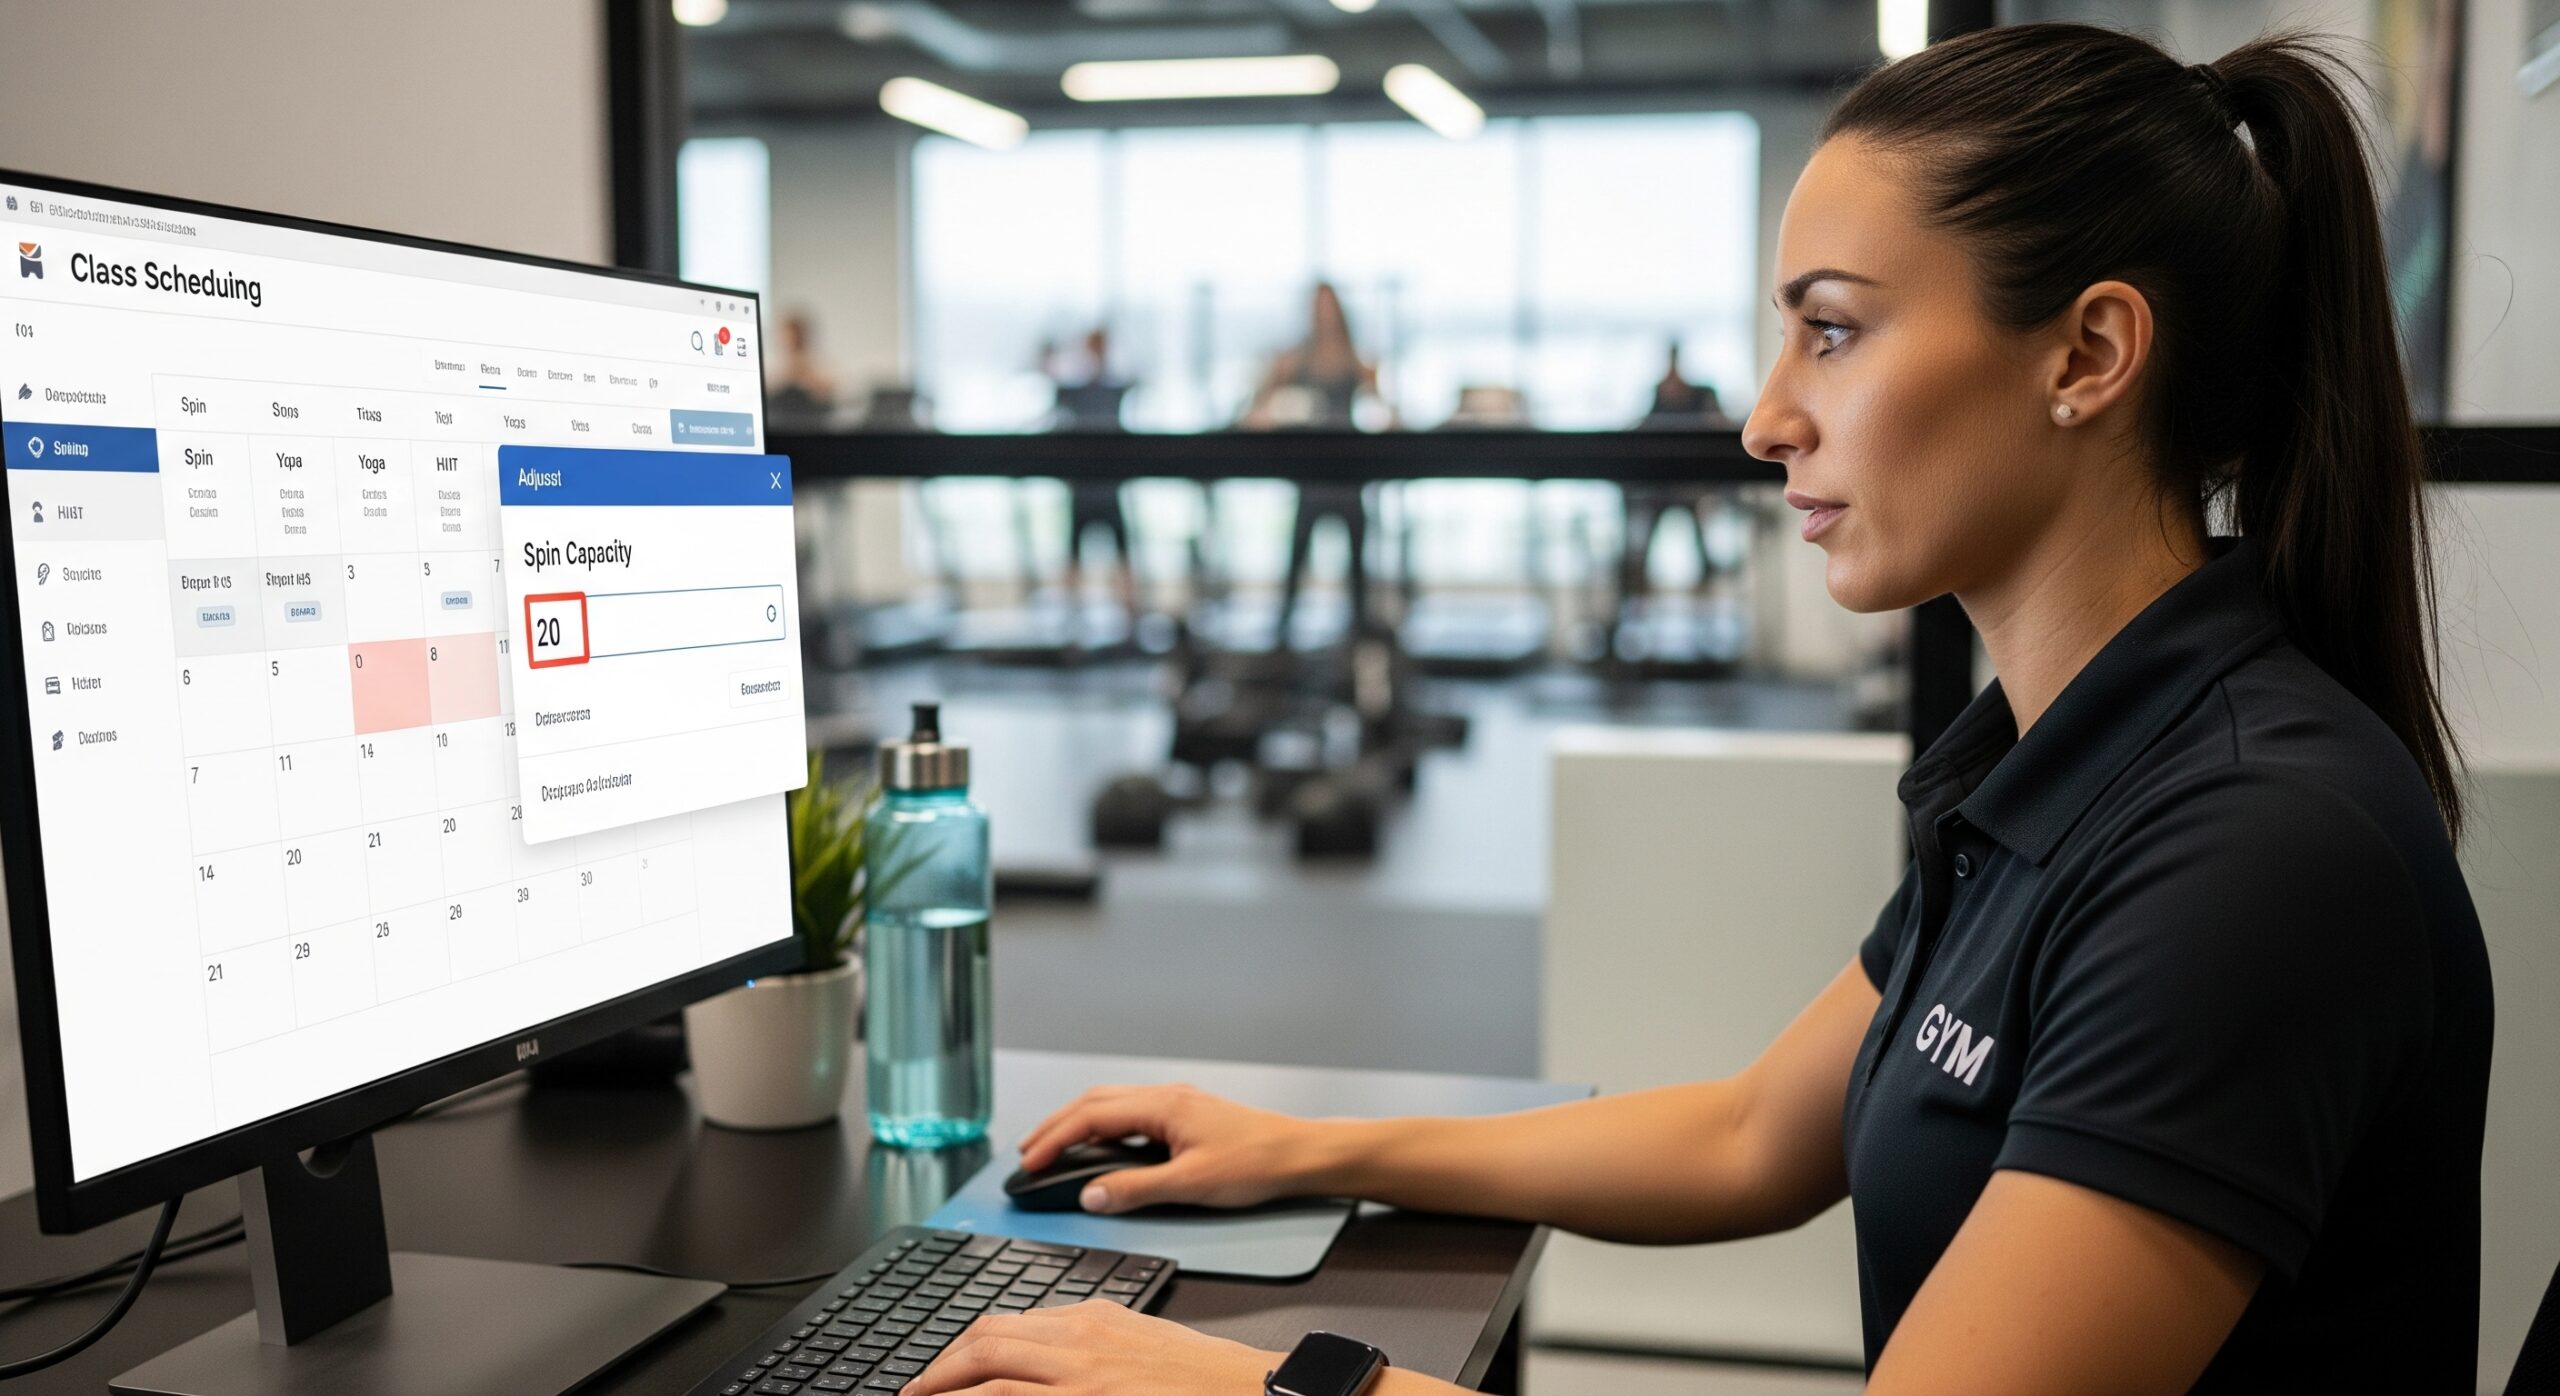
How to configure class capacity limits in your gym software

Managing class sizes is essential to keeping members happy and operations efficient. Whether you’re running a high-intensity interval training (HIIT) class or a beginner’s yoga session, setting up class capacity limits helps you avoid overcrowding, maintain quality instruction, and stay compliant with safety guidelines.
In this blog, we’ll walk through how to set up class capacity limits in gym software, step-by-step, so your facility runs smoothly and members know exactly what to expect.
Why setting class capacity matters
Before diving into the configuration steps, let’s cover why class capacity settings are so important.
Benefits of class capacity limits:
- Improved member experience: Avoid crammed rooms and ensure each attendee gets the attention they need.
- Efficient scheduling: Staff and instructors can better prepare for class size.
- Health & safety compliance: Maintain spacing requirements and prevent overcrowding.
- Operational insights: Track demand and make data-driven decisions about adding more sessions.
Step-by-step guide to set up class capacity limits in gym software
Setting class limits may vary depending on your gym software provider, but most platforms follow a similar structure.
Navigate to class settings
Log in to your admin dashboard and go to the class schedule or program management section. Look for the class you want to edit or create a new one.
Set maximum class capacity
Find the option labeled something like “Maximum Participants” or “Capacity Limit.” Enter the number of members you want to allow per session.
Pro Tip: Start with a slightly lower limit if you’re trying a new class to gauge popularity and engagement.
Enable waitlisting (Optional)
Many gym software systems allow waitlisting once a class reaches full capacity. Enabling this feature gives members the option to join if someone cancels.
Benefits of waitlisting:
- Maintains member interest
- Reduces no-show rates
- Helps staff forecast future demand
Choose booking rules
Decide when members can start booking and canceling classes:
- Booking window (e.g., up to 7 days in advance)
- Cancellation deadline (e.g., 2 hours before class)
These rules help manage class flow and avoid last-minute changes.
Save and publish changes
Once you’ve finalized settings, save your changes. Your class should now reflect the new capacity limit on both the admin dashboard and member-facing portal or app.
Additional features to look for
When evaluating or using gym management software, consider these features for even better class management:
Automated notifications
Send automated alerts when:
- A member joins a waitlist
- A spot opens up
- The class is near full capacity
Real-time attendance tracking
Use check-in tools or kiosk mode to monitor who actually shows up, helping refine capacity decisions later.
Reporting and analytics
Track class attendance trends and no-show rates to decide whether to increase capacity or add more class times.
Common mistakes to avoid
Overbooking beyond physical space
Make sure your digital capacity matches your actual room size and available equipment.
Ignoring member feedback
If members frequently complain about full classes or last-minute cancellations, it may be time to reassess your capacity settings.
Forgetting to update recurring classes
If you’re changing class size across multiple sessions, apply the update to all instances to stay consistent.
Related: Smart Tips to Optimize Class Capacity at Your Gym
Final thoughts
Knowing how to set up class capacity limits in gym software isn’t just a technical task—it’s a key part of running a successful, member-focused gym. When configured correctly, class limits help you improve satisfaction, reduce chaos, and run a tighter operation overall.
Want to streamline your scheduling and class management? Book a Demo to see how Zen Planner can help you manage class capacities and grow your studio.


